How To Make an Upcycled Tunic Top for Women in Less Than 90 Minutes!
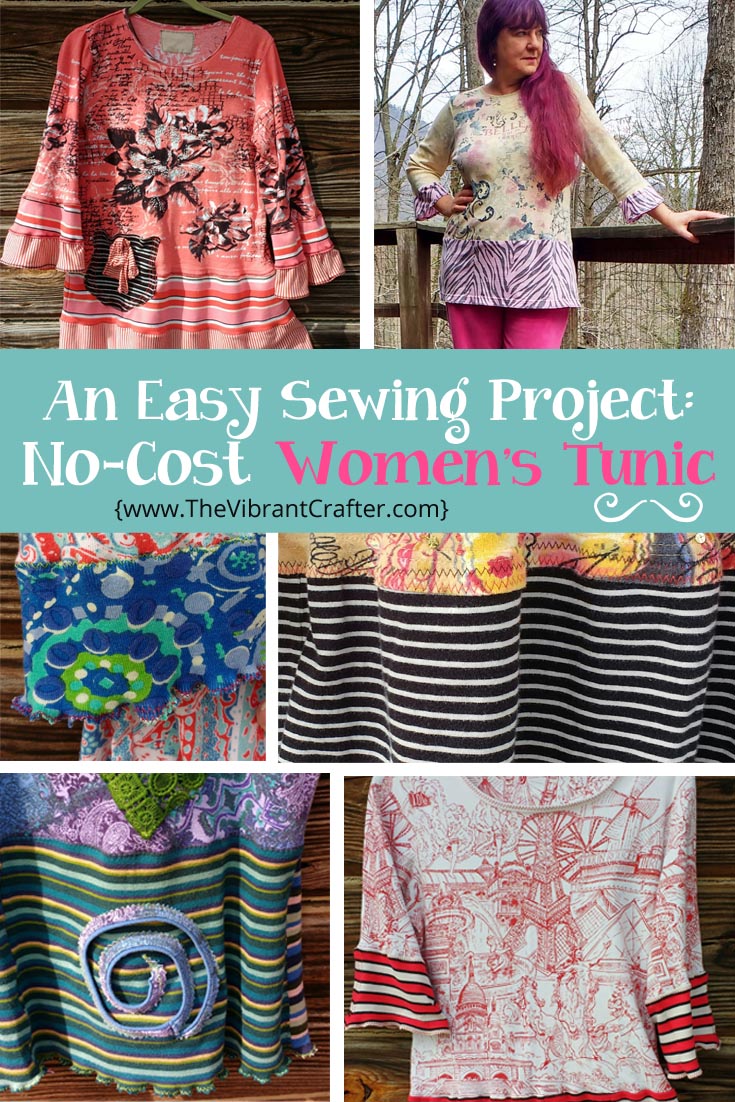
There are the three things I’m looking for when I want to make an upcycled tunic top that I can wear tonight.
Fast. Free. Flattering.
I don’t want to go shopping for fabric or notions. I don’t want to follow a tricky sewing pattern or spend hours and hours with fiddly details. I want it to be unique and interesting and I want it to fit well.
Most of all, I want to feel pretty good wearing it.
That’s a lot of “I wants” but I promise you that my upcyced tunic tops tutorial delivers on all that and more. Once I’d made my first upcycled tunic a few years ago, I quickly realized that I could make more and more and it would barely cost me a dime!
I could have a new designer tunic top every other week if I wanted to. All I’d need to wear with it would be a skirt or pants or leggings in a pleasing color, which I have plenty of in my wardrobe already.

{Notice how I left the back open on this one, but you can make yours any way you like.}
Buying Women’s Tunic Tops in Stores
Frankly, most tunic tops for women that I have seen in the “big box” stores are B.O.R.I.N.G. Women’s plus size tunics are especially ugly and hard to find. Cheap? Yes. Attractive and Earth-friendly? Heck, no.
My sewing tutorials are all about re-using lovely, soft, gently worn upcycled clothing. And this one is about making yourself some pretty women’s tunic tops. That includes tunics you can wear with leggings and maybe even a tunic dress or two. The best part is that they will be completely unique and will cost you barely a dime!
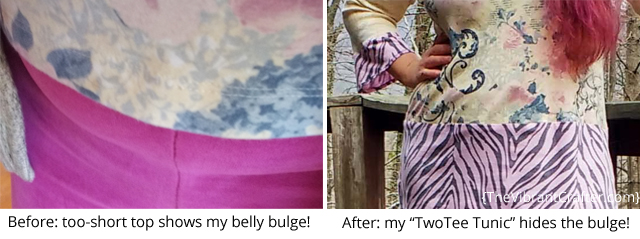
These upcycled women’s tunic tops are comfortable and flattering, so if you’re feeling a little bit “bulgy” as I was that afternoon, this is the perfect project for you.
Materials You’ll Need
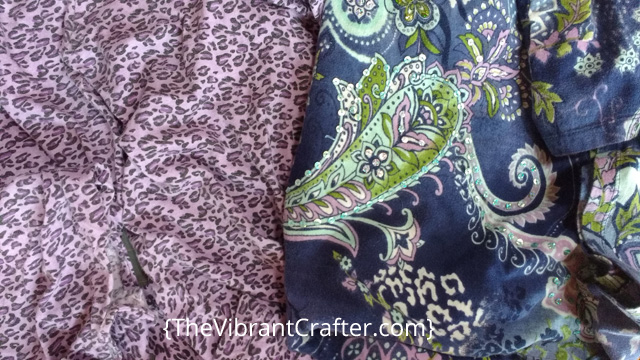
For this DIY tunic top you’ll need two stretchy tee shirt tops in contrasting colors that are pleasing to you.
You can find these tee shirt tops in your wardrobe. Maybe you used to really like them but they’re too short for you now or they have a rip or a stain or there’s something else wrong with them. Or you can get them from a friend or find them at a thrift store.
Only one of these tops has to actually fit you. That’s going to be your base piece. The other one is going to be used to lengthen the sleeves and the bottom part. You can even use the scraps to add some funky embellishments if you’re feeling frisky, but it’s not necessary at all. You could leave yours absolutely plain, like this one.
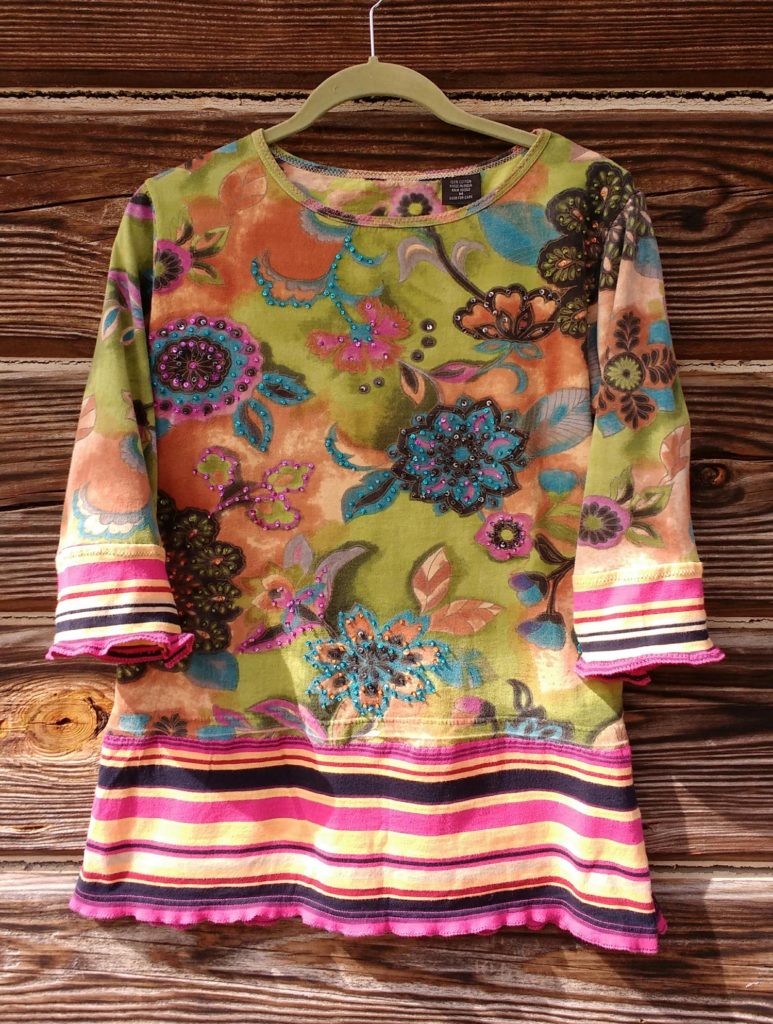
Personally, I like really bright colors, so I usually choose colors and patterns that really stand out. The options below turned into one of my favorite TwoTee Tunics which I named, “Oh, Why Not?”
Instructions for The TwoTee “Belly Bulge Buster” DIY Tunic Top
STEP 1: After choosing your two tee shirt tops lay your “main” top out flat on a table. Using your eyeballs, decide how much extra sleeve length you’d like to add.
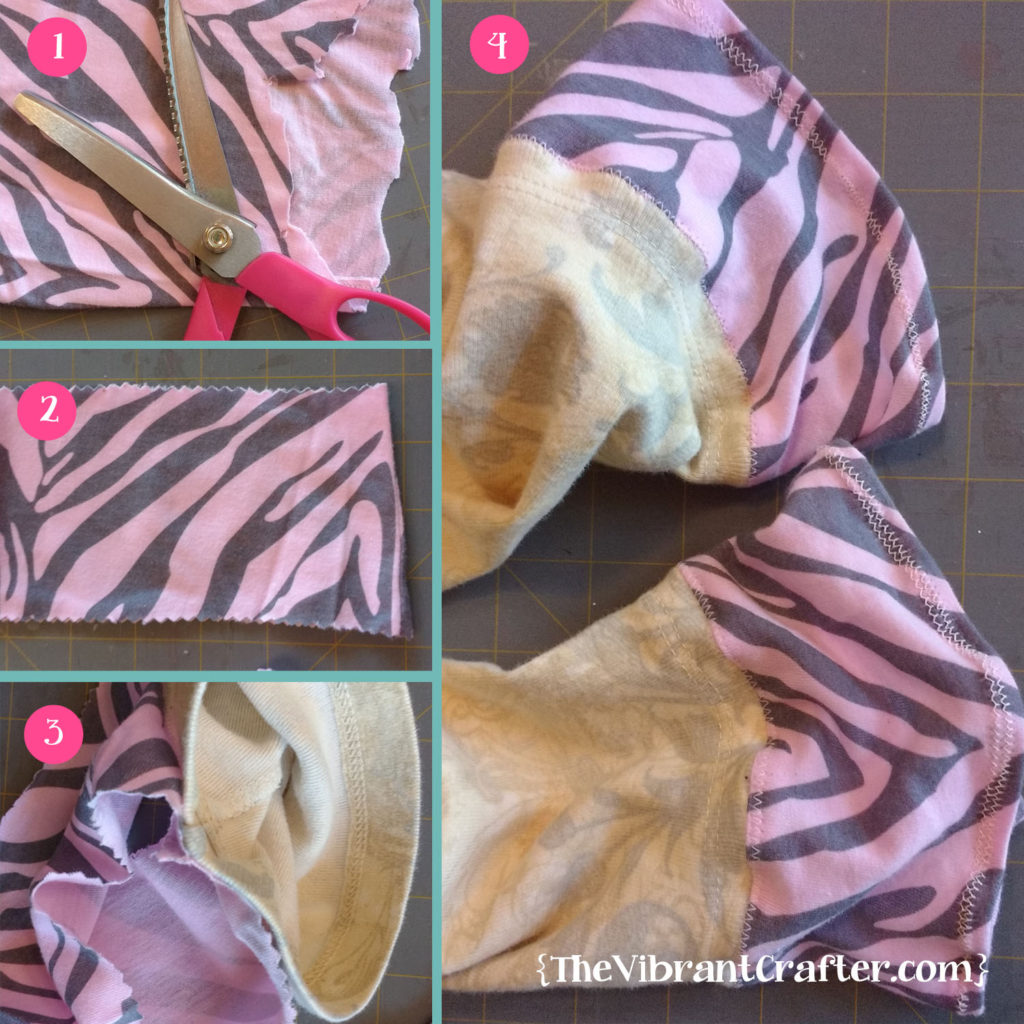
STEP 2: Take your “junker” top and cut off the ends of the sleeves just about two inches longer than the amount you want to add to your main piece.
STEP 3: Pin the new sleeve extensions to the ends of the too-short sleeves of your main top. Pin and gently stretch and ease the sleeve pieces to each other so that they fit. Tee shirt fabric (also known as jersey knit) is very forgiving – it will work out – I promise you.
STEP 4: Sew once around with a straight stitch and then again with a zig zag stitch.
OPTIONAL: If you like the idea of slightly “frilly” cuffs, do a zig-zag stitch around the bottom edge of the sleeve, stretching the fabric as you go. Go around twice if you like. I personally like to use contrasting thread so I get to use up the ends of all the weird colored threads have lying around.
STEP 5: Next, measuring from your shoulder, decide how long you would like your tunic to be. Mid-thigh is a good length, but it’s entirely up to you. This is your masterpiece.
STEP 6: Cut off the bottom of the junker top just an inch or so longer than you’ll need to make your tunic top the length you want it to be.
STEP 7: Now sew the two pieces together, again using a straight stitch first, and a zig-zag stitch next for added strength. This also makes the seam lie flat and looks kind of nifty.
Again, you can zig-zag stitch the very bottom edge, stretching the fabric slightly as you go to give it some movement and wiggle. I personally happen to like movement and wiggle and I do it to all my garments. The TwoTee Tunic below is one I called “To Sir With Love” (SOLD).
At this point, you have a brand new tunic top that you made all by yourself – yay! If you want to add some other elements like a funky pocket or a jaggedy applique cut from a scrap of fabric, now’s the time.
Life is short. Have fun, go bonkers, don’t hold back. Hey – you can even make some no-cost leggings to go with your new top!
And whatever you decide to do, please feel free to send me a picture of your awesome creation – I’d love to feature it right here!
If you don’t have 2 old tops you can chop up try going to the thrift store, or rummage through your sister’s or friend’s wardrobe. Throw a sewing party and have a blast with your girlfriends. Save the planet. Chop up some old clothes and make some really cool new ones – upcycled clothing is in style now!
What about you? Have you ever tried making new clothing out of old clothing? How did it go? Share your project in the comments below.
Hugs, Mandy

P.S. I’d be thrilled for you to have my Glovelies sewing pattern absolutely free as a special gift from me.
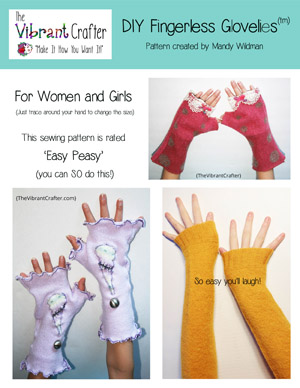
To get the printable pattern, all you need to do is to sign up for my email list below. Once you’ve confirmed that you are a beautiful human being you’ll get a link to download the .pdf version. Enjoy!
Hugs and blessings,
P.P.S. You may notice some affiliate links in this blog which help me to bring you these free sewing tutorials. However, all my opinions are my own – I don’t share what I don’t love. 🙂



I really like this tunic idea! I have to give this a try for sure! I do have a sewing machine so I am very happy about that! : )
Thanks for the fabulous idea!
Any ideas for jeans that are too small? I have a few pairs I was going to donate to the Vet’s, which is what I have been doing, wanted someone to get use out of the clothes I couldn’t wear.
Hi Lor,
Come join my free Facebook group, Upcycled Clothing and Crafts. Plenty of ideas there!
🙂 Mandy